Saturday, November 06, 2010

Back in the Saddle Again

 The other day I just sat down in front of the machine and sewed.  It felt good to pick up a project and work on it again, and I finally finished piecing this still-unnamed quilt that I'm making with Debra.  She pieced the center medallion and the pinwheel blocks, mostly in western themed fabrics.  I added two side panels and borders.  You should be able to click on it to see the details.


I was taken with the western theme of the center medallion, and then my friend Leslie gave me a large piece of this old Alexander Henry fabric "Sweetheart of the Rodeo," which is a riff on the old Byrds album cover of the same name.  I've been obsessed with this image for a few years: I have a picture of it hanging above my sewing machine, so when Leslie gave me this fabric, it was double serendipity.


My only qualm with the fabric was that all the cowgirls were white.  In the service of historical accuracy, I took out my gel pens and inserted some racial diversity into the mix.


 This one got some silver "highlights."  There's no reason cowgirls all have to be young.


I love the pose of these cowgirls.  They remind me of angels.  I thought they'd be a good guardians for a western themed Virgin of Guadalupe.  I'll be sending this off to Debra soon.  We'll see what she adds.

Monday, October 25, 2010

Basic Fingerless Mitts and Other Adornments for the Hand


My job is keeping me pretty busy these days.  I try to carve out recreational time, but I still end up working long hours during the week and part of the weekend, so I don't have much creative time.   There's not much sewing going on here, but I do knit.  Sewing seems to take more energy than knitting, while knitting seems to quiet and center me.  I can also more easily pick up projects for short bursts of time.  Doing a row or two in odd moments doesn't require the time commitment it seems to take to quilt.

I made this great free fingerless mitt pattern in a dk weight wool I picked up at Tuesday Morning, of all places.  The yarn, Hacho, is a soft and colorful Peruvian wool, and I needed less than one skein (about 130 yards) for the pair.  Tuesday Morning is a discount place that gets home decor stuff, linens, gardening supplies, dishes, toys, and some craft supplies.  You never know what they might have in the yarn department, and they never have more than a few balls of each color, but it's generally high quality yarn for a discount price, and just the thing for small projects.


And here's another small hand adornment, but sign of a bigger project in the making.  Michael and I are planning to get married.  Of course the way we're doing it hardly counts as wedding planning.  When you're our age, marriage is about the logistics of sharing our households and families.  So we're working on it, and when we figure out all the details, we'll tie the knot, no big rush, no deadline. 

This is a lot different from when I got married in my late 20s, but wonderful in its own way.  Michael and I have been a couple for several years, and have been very happy together.  We've liked not being married and having separate houses.  But looking toward the future, this is the direction we've decided to take.  I feel very lucky both to have such a great partner --he really is one of the most wonderful people I've ever known-- and another shot at marriage. 

Tuesday, October 12, 2010

Sewing a Knitting Needle Case


I was in Jo Ann Fabrics with my 40% off coupon burning a hole in my purse when I saw this packet of 5 sets of sock needles.  I bought it to have spares, since I feel a major sock knitting jag coming on, plus 5 sets of needles for $10 (less 40%) is a great deal.

When I got home I decided to make a knitting needle case to keep track of these skinny needles.  I found a 10" orphan block left over from an old project, and I cut a piece of scrap flannel to the same size.


For the inner pockets, I cut another 10" square of fabric, then folded it in half with the pretty side out, and marked some lines for stitching the pockets.


For the top flap, I cut a 6 x 9.5"  inch piece of fabric, folded it so the right sides were together, stitched up the short sides, and then turned the right side out.  The top flap isn't sewn into pockets, but is left loose.


After adding a quilt-style binding and a tie, I marked the needle sizes on the pockets with marker and sorted through my collection of new and old needles. 


Not bad for a little impromptu project.  Plus I found my way back to the sewing machine, where I spent some time on the Madonna quilt I'm making with Debra.


Sometimes I guess I have to just put a toe in the water and see if I'm ready to take a dip. 


Sunday, October 03, 2010

More Knitting


I guess I've been doing more knitting than sewing these days.  It's not that I don't want to sew, but after a long day at work, it's about all I can do to sit upright on the sofa and knit a few rows.  This is what my coffee table looks like these days.  I'm trying to finish the Faire Isle vest for my mom that I started in the Spring.  I have a few technical problems to solve, and then I think I can do the shoulder shaping, cut the steeks, and do the ribbing.  I want to get it to her in the next few weeks to that she can wear it this winter.

You can see my copy of the John Sayles film Lone Star there too.  It's a wonderful complex narrative on life along the Texas-Mexico border, a great film you need to see multiple times in order to see the interconnections between the various story lines.  The film is organized like a patchwork.  There are lots of pieces, but you have to stand in the distance to appreciate some of the ways they're linked together.


I finished a few small projects in recent weeks.  Sometimes I need to make something easy and quick just to deep my momentum going.  I made this Multi-directional Diagonal Scarf from a free pattern.  Judy at Stitch Along with Me had made it I think, and I loved the way it looked.  I made mine wide like a shawl.  The pattern is dead easy, but looks complicated.  I used Lion brand Amazing yarn, which is 50% wool and 50% acrylic and has long beautiful color repeats.  I think I'll use this a lot this winter.


I  finally finished this pair plain ribbed socks in Kroy sock yarn.  The yarn is great: I love these colors, and it doesn't bag after wearing like some other sock yarns.  It probably took me a year to finish these socks, and they feel so good on my feet I wonder why I don't make more.


I also made a baby sweater in acrylic DK weight yarn for Michael's grandchild #2, who is expected in December.  Nothing is as satisfying to knit as a baby sweater, and since this will be a winter baby, I wanted to make the sweater in a small size so that she'll wear it right away.  Paxton Preemie and Newborn Jacket is a free pattern on Ravelry with sizes for preemies and for small and regular newborn sizes.


When you're done with the sweater, you get to pick buttons, which is almost as much fun as the knitting.

Saturday, September 25, 2010

The Sweater Knit from Kool-Aid Dyed Yarn Part 2

The sweater knit from Kool-Aid dyed yarn is a big success. I used the pattern Whisk Cardigan, from the Fall 2010 Knitscene magazine. It's a basic A-line cardigan. The only change I made was to add 2 inches seed stitch hems all around.


When I knit the pieces, I alternated skeins every 2 rows so that lighter and darker parts of the yarn blended pretty well.


That was Cleo's opinion anyway. This worked well with the fronts, but when I knit the sleeves, the color difference between skeins was more dramatic.


I got a definitely stripe pattern going on one sleeve. If I hadn't injected extra dye into the centers of the balls, the color absorption would have probably been more uniform.


My solution was to over dye the sweater pieces after I'd knit them. I dyed the back, the fronts, and the sleeves in separate batches in the turkey roaster with the same amounts of diluted kool-aid. Here you can see that I also over dyed some extra yarn to knit up the collar, and that I made myself some eggs while I was working.


This is the nicest softest sweater, and I like the color gradations. The over dying evened some of the striping out, and I finally used up that yarn.

Sunday, September 19, 2010

Kool-Aid Dyeing a Sweater's Worth of Wool Pt. 1

When I was a newbie knitter in the early 90s, I bought a bag full of this yarn through a catalogue. I intended to make a specific sweater I'd seen in Vogue Knitting, but once the yarn arrived I realized that it wasn't going to work for that sweater. I never did make the sweater, and the yarn has followed me from one end of California to another in the intervening years.


It's 100% wool and worsted weight, but it's slubby and has a big halo. The color is also one I never wear.
And did I mention that I bought a lot of this yarn?


On Ravelry, there's a group devoted to dyeing yarn with kool-aid and with other food colorings called What a Kool Way to Dye. After perusing their forum and their pages of helpful links, I decided to see if I could change the color of this yarn into something I'd want to use.

I also decided to see if I could dye this yarn without re-skeining it. Usually to kool-aid dye yarn, you skein it and tie it in several places so that the dye will reach all the fiber. I decided to dye my yarn in its original balls. Since this yarn had already been sitting around for almost 20 years, I figured I didn't have much to lose.

I soaked all the yarn I was going to dye in water for a couple of hours so that it was well saturated. Then, using the smallest amount of water possible, I put it on the stove in my turkey roaster. Since these are food colorings, it's fine to use your regular pots and dishes.

I dissolved 20 packets of black cherry kool-aid in water to dye my 10 balls of yarn. I added this mixture to the soaking yarn, and on the stove, gradually raised the temperature to just under boiling.

Lots of kool-aid dyed yarn is done in multi-colors for socks and other small projects. It's also possible to over dye yarn to alter the color.

Um, wear gloves when you do this.

When the yarn approaches boiling, it will have absorbed all the dye.


It's miraculous, but the water will be clear or nearly clear once the yarn has taken up the dye.

Contrary to what you might think, subjecting wool to hot water will not make it felt. The combination of agitation and rapid temperature change are what make wool felt.

When your yarn is dyed, turn off the fire, let the water come back to room temperature, and then rinse the yarn well. I put mine on the back porch to dry.

This is what I got: ten skeins of kettle dyed wool. Parts of the balls were darker than the rest. You can play with adding the dye to the water before you put in the yarn to see if your results are more even. I used a turkey baster to place dye in the center of the balls, but this made dark splotches wherever the dye hit first, and didn't necessarily darken the yarn at the center of the balls. Exposing the yarn to hot water made it bloom: it was softer and fluffier that it was in the original state. This yarn is color-fast, though if you were to expose it to lots of sunlight, it would likely fade.

Next: Part 2: The Sweater I Knit from Kool-Aid Dyed Yarn

Monday, September 06, 2010

Another New Old Toy

I always wanted a treadle sewing machine, and now I've found one and it's taken up residence in my kitchen. I wanted one because it reminds me of my grandmother's treadle, which we used to keep in the dining room of our flat when I was growing up. A favorite childhood pastimes was making that treadle go, which is why my mother kept the belt off the wheel when she wasn't using it.

I also have a reoccurring fantasy of living someday in My Cabin in the Woods. A quiet retreat with a large garden where I'll live off-grid, sewing and knitting and growing things. The treadle machine is a key component to that dream.

This machine came my way in the same thrift store where I recently bought my Singer 185J. It's a Singer 15, according to the serial number, made circa 1903 in Elizabeth, New Jersey. The decals are sometimes called the Tiffany pattern.

It's in great shape, except that it was a little grimy. I've seen few treadles around here, and most have been real fixer-uppers, but this one is solid, and has all her parts, including the key to the cabinet, and all the extra attachments. I've been cleaning her up, oiling her, and getting to know how she works. There are great web resources for vintage machine fans, including an active Vintage Sewing Machines group on Ravelry, and there are helpful YouTube videos on various aspects of machine repair and operation.

Although this machine appears to have been made in the U.S., the manual that came with her is in German. They did make Singers in Germany, but perhaps a German-speaking sewer acquired a German manual for her machine. Or maybe the serial numbers are wrong, and the machine was made in Germany, and has traveled a very long way in 107 years.


The machine accessories came in these two tins, which to me, are as beautiful as the machine. One is a cigarette tin, and the other is for some kind of stomach tablets, and the labels are in German. I've got a German-speaking colleague I'm going to ask to look at these for clues to the story of the machine.

I'm getting close to an actual sewing test with the machine. I've got to adjust the belt so I can wind some bobbins and thread her up. There's nothing like the sound of a treadle sewing machine.

Saturday, August 28, 2010

Summer Knitting

I don't show a lot on knitting-in-progress, though I usually have at least 2 projects going at any one time. I think that looking at unfinished knitting is akin to watching paint dry, but finished knitting is like looking at toys or candy. Here is a display of a few projects I finished over the summer.

The first is Splash, a vest pattern by Wendy Bernard. It has a clever construction--the shoulder is seamless. You make a provisional cast-on, and then knit down the back to the bottom of the arm holes. Then you pick up the stitches from the cast-on edge, and knit down the front to the bottom of the harm holes, join front and back, and knit the body to the hem.

Designers are very big these days on garments that don't need any seaming, and I think a lot of newer knitters have an unreasoned fear of seams that makes these patterns popular. I don't mind seaming, and I think they often lend garments structure, but this was a fairly quick knit and made a cute vest. The body is meant to hang straight from the bust, but I made mine A-line, which suits me better. The yarn was recylced from a thrift store sweater that I unwound. It's 100% wool tweed, and the color is very cheerful.


I also knit a Shalom vest, which is a free pattern by Meghan Mc Farlane. It's also knit seamlessly from the top down. All the yarn for this vest was bought at the thrift store. It's unusual to find sweater quantities of yarn second hand, but I did score this discontinued Patons acrylic-wool blend in a bulky weight in the exact quantity I needed. Some days the recycling gods send you a small gift. Of course the buttons cost me twice as much as the yarn, but that's the way it goes.


I get to knit even in summer because it never gets hot in this coastal climate, and this year has been unusually foggy. Small knit projects are also great for travel, and I knit most of this Feather and Fan Comfort Shawl , a free pattern by Sarah Bradberry, on a trip. I made great progress on this shawl when I got stuck overnight at the San Francisco airport when trying to get home from Albuquerque. Note to self: pack lots of knitting for plane trips.

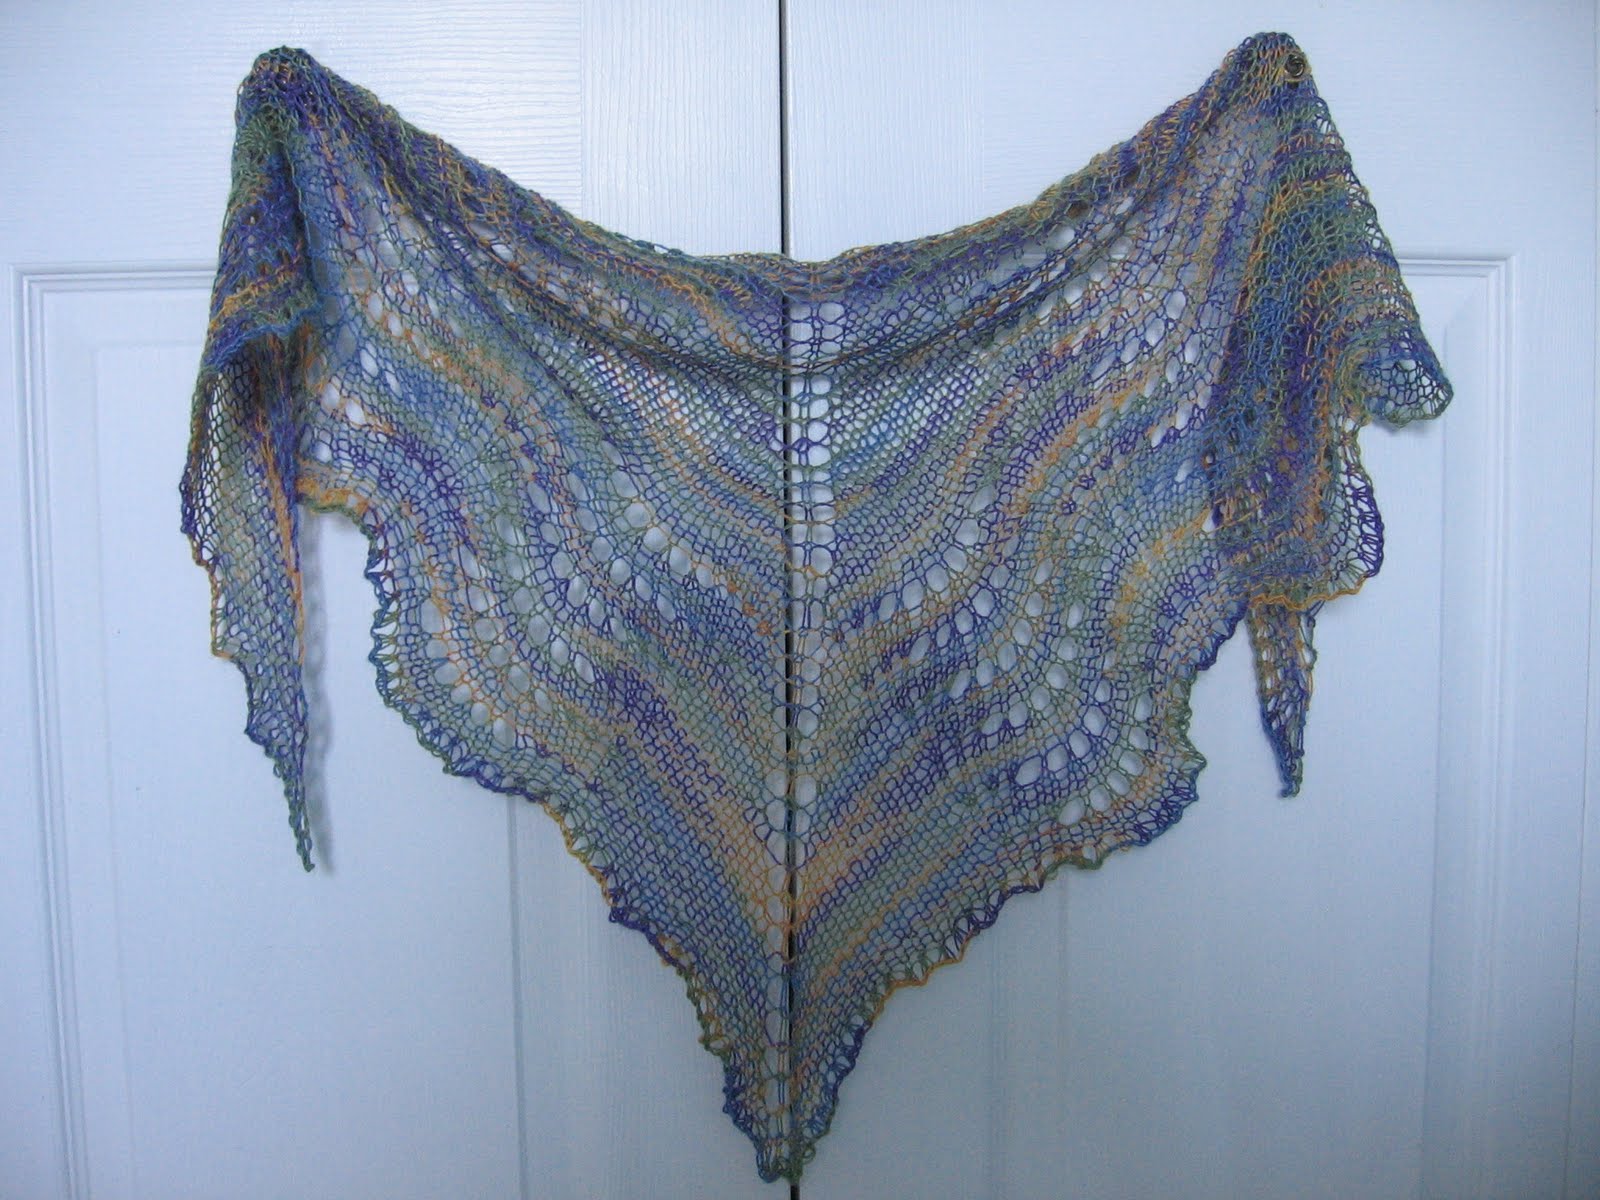
This shawl was knit from one ball of sock yarn: Deborah Norville's Premier Serenity Sock Yarn, which is a blend of wool, bamboo and nylon. I knit it on a U.S. size 10 needle, and before binding off knitted every stitch twice so the edge would been extra stretchy. I blocked it aggressively to open the lace, after throwing a bit of liquid starch in the rinse water. This shawl went to Michael's daughter for her birthday.

I'm finishing the second sleeve of a cardigan that I hope to show soon, then I think I'm going to cast on a massive shawl and use up some coned wool I've got stashed. There are some nice small shawl patterns I've been eyeing, and I'll probably mix in a few of those too. This will be the Fall of the shawl.

Thursday, August 12, 2010

Charmed I'm Sure (70 x 80")


Over the past few months I've cut a lot of my stash (especially the smaller pieces) into 5" squares and into strips of various widths. This quilt top was pieced from some squares I fussy cut. I sashed the blocks with some of the pre-cut strips, and added a piano key border. This top will go to Debra and she'll quilt and donate this top along with others she's making.

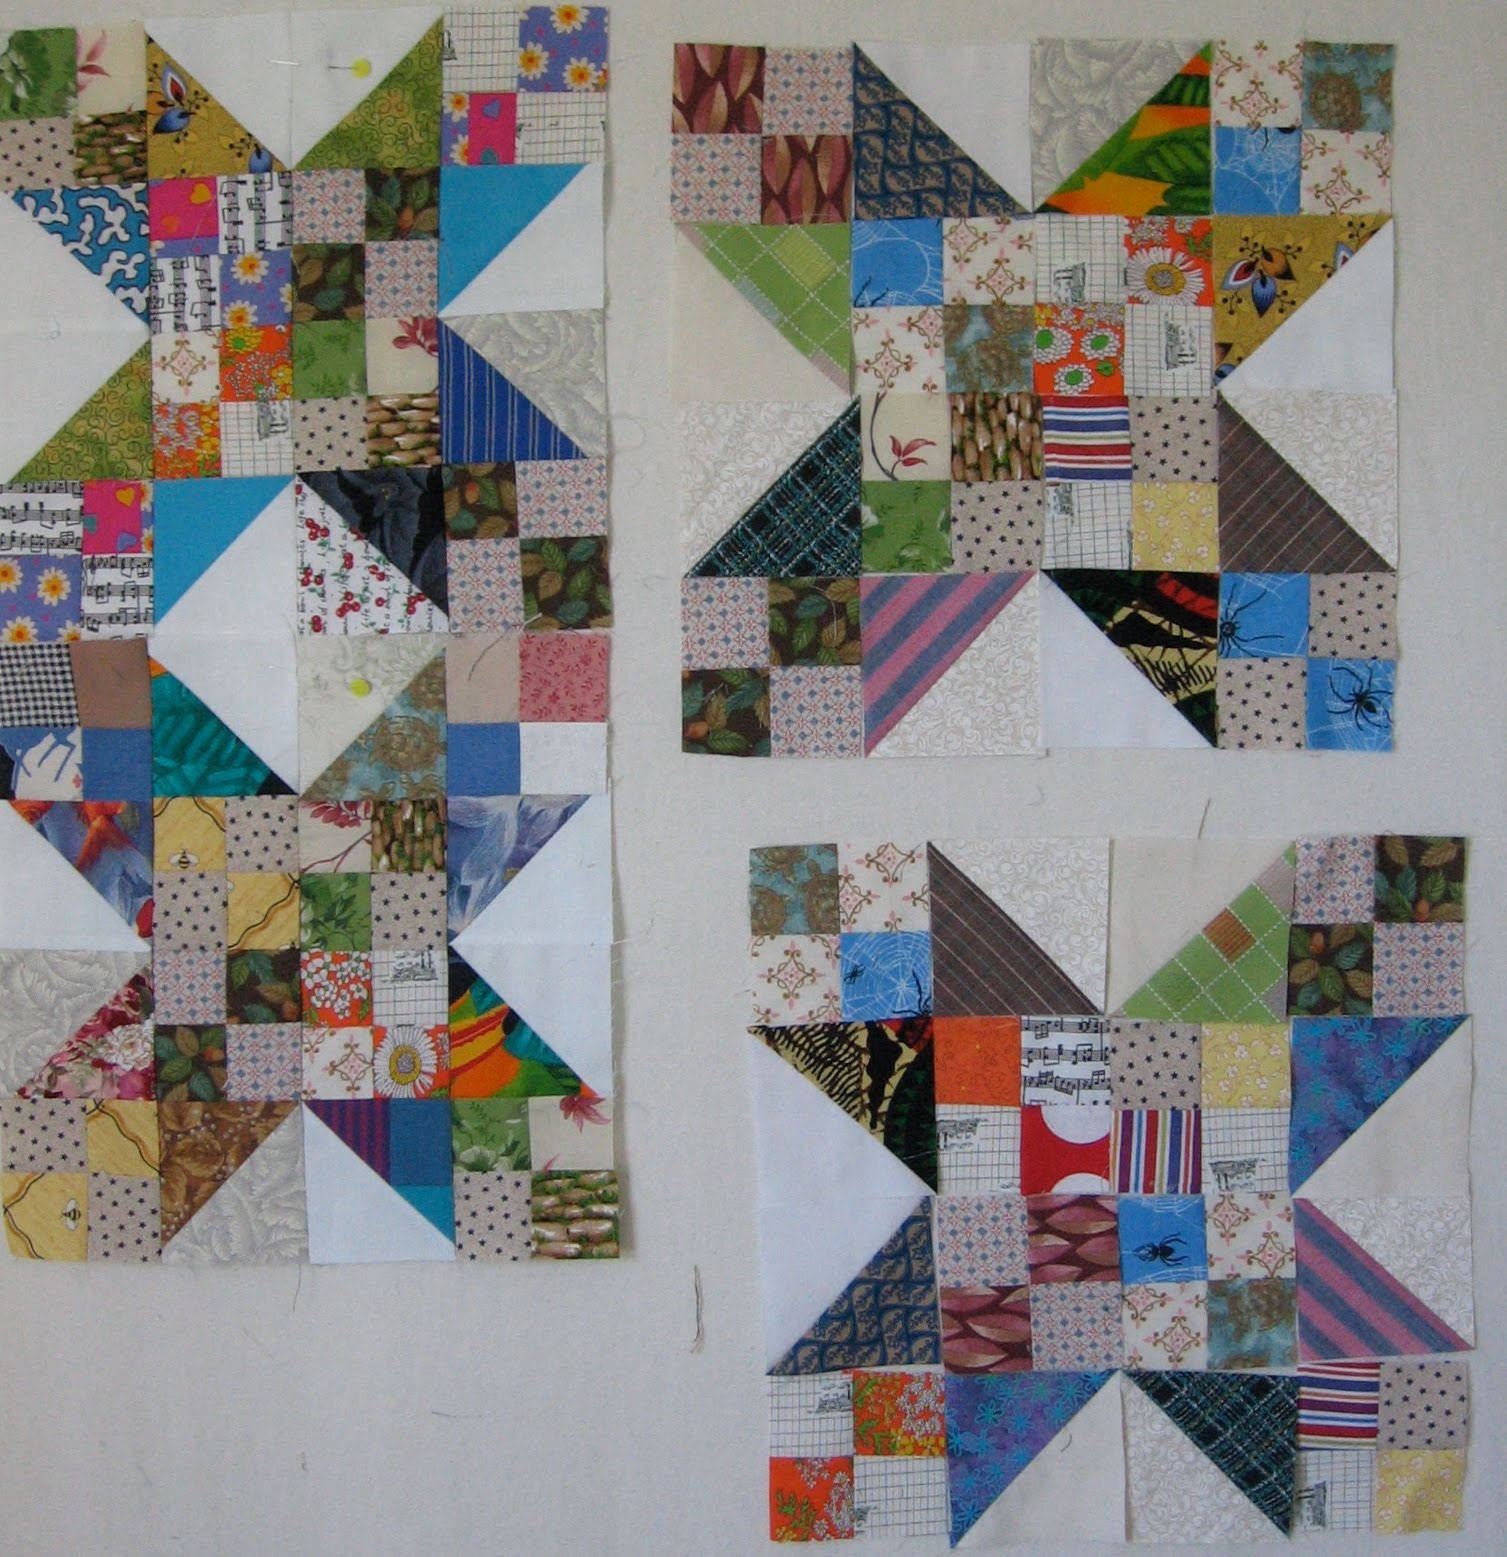
I also finally finished piecing this top, which has been a few years in the making. The basic units are 16-patches made of 2" blocks, and 3.5 inch half square triangles.


This top was done except for one of the long outer borders. I must've gotten completely sick of making these blocks, so I just folded it up and put it in the Closet of Doom. Once I had my new Singer 185 installed on the kitchen table, I decided to make up the remaining blocks and finish the border on this poor quilt. Of course it came together very quickly. I think this one will likely go to Debra too because I can't foresee a specific need/ recipient for this quilt. I just needed to make it, and now that it's done, I can let it go.


With some of the remaining 2" strips I made 4-patches for these blocks. Debra shared the link to this great method for making half-square triangles. Scroll down until you find the short tutorial for Fast and Easy Pinwheels on the right of the page, and your approach to the hst will be revolutionized. To get 4 of these 3.5" half square triangles, start with 2- 5.5" squares.

It looks like another scrappy donation quilt is in the works.

Friday, August 06, 2010

Vintage Baby Saque

I've been straightening the stash, and I came across this baby saque. I've had it so long, I don't remember where it came from. It's pre-printed with a design for embroidery, and it had little holes around the edges of the finished garment. Michael's son and and daughter-in-law are expecting their second baby, and it's a girl, so it seemed time for this project to get made.

I think these little projects were once widely available. They seem like the kind of think you could have once bought at the 5 and 10 and embroidered for your baby. I imagine that this one is from the 50s or 60s, but maybe someone has a better memory of this than me.

I quickly embroidered the front, but then I had to figure out how those holes figured into the finished saque. After surfing the net, I saw a photo of a similar garment. The holes are for crocheting an edging.

It's almost scary that I had the right size crochet hook (I think a 7) and some DMC cotton in the exact color I needed. After giving the piece a much-needed wash, which removed the markings, I trimmed a narrow hem around the edge and added a row of single crochet. I was planning to do a picot edge, but I like the plain look.

I remember that these baby gowns used to come with ribbon ties, which to me are totally impractical. I added buttons and added a row of button holes to the crochet.

Voila! Finished at last.

Economy Block and Large-Scale Fabrics

Recenlty I decided to take out and use the stash of Asian-themed fabrics I'd set aside.  Many of them are large scale, so I wanted to fe...