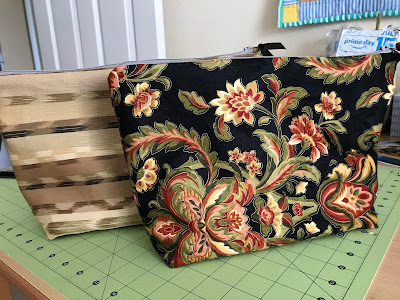
I felt moved to make some zippered bags from my upholstery sample stash. The smaller ones, from 10 x12ish-inch pieces, I figure, will make nice gifts. But my real objective was to conquer zipper installation and to make myself a couple of knitting project bags. People in my knitting group have some nice zippered bags, which I know they've purchased. When I see these bags, I secretly covet them, and then tell myself those infamous words: I can make that.
I overcame a mental hurdle when I realized that the fronts and backs of these bags do not have to be identical. I wanted to use as much of these 10 x 12" pieces a possible, as well as to get a decent-sized bag, so I used different, but related, fabrics for each side of both the inside and the outside of the bag. Because upholstery samples often include collections of related prints, this was easy to do. The fabrics in these bags are not twins, but siblings, or cousins.
Another insight that came to me during this process relates to that awful paper that's stuck to the back of upholstery samples. Sometimes you get lucky, and it will peel off easily, even in one big piece. I realized I could live with getting most of it off, especially in the seam area. I eventually accepted that I could live with paper residue even in the seam areas. It's a little free stiffening.
I pieced together some heavy samples into this bag for a knitted shawl project. It's about 10 x 14 inches and it stands up perfectly while I'm knitting, a real bonus.
I pieced three fabrics for this oversized bag (about 20 x 16 inches) which I'm using to store a sweater project.
Here's a peek at the pieced lining.
Some of my favorite tutorials for these bags are:
Pull-Ease! How to Shorten any Zipper from your Stash by Blueprint
Sew Mama Sew's No-Stress Tabbed Zipper Pouch Tutorial
Jedi Craft Girl's My Favorite Zipper Pouch [tutorial]
Happy Crafting!


